Branch-based collaboration
Use branches to work on documentation updates in parallel without affecting your live site.Why use branches
- Isolate changes: Work on updates without affecting your live documentation.
- Review before publishing: Get feedback from team members before changes go live.
- Parallel work: Multiple team members can work on different branches simultaneously.
Recommended workflow
Use pull requests to propose changes and collaborate with your team before merging to your live documentation. This workflow ensures your team reviews changes before publishing and maintains a clear history of updates.Create a pull request
Create a pull request from the editor when you’re ready to publish your changes. See Publish changes in the web editor for more information on using pull requests.
Respond to feedback
When reviewers request changes, make the requested changes and save your changes. Additional changes automatically push to the existing pull request.
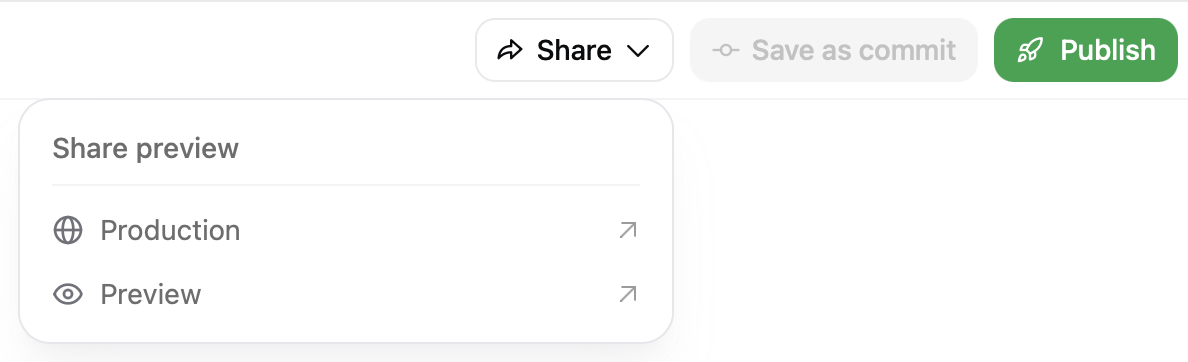
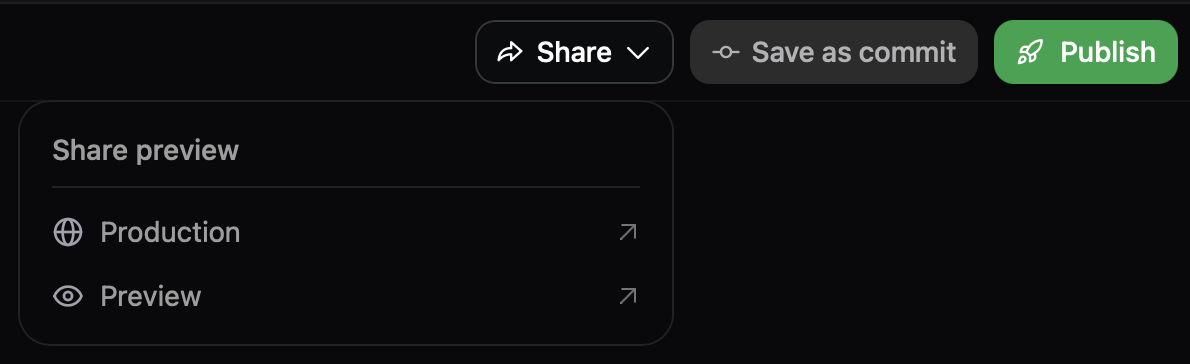
Preview deployments
Preview deployments create temporary URLs where you can see your rendered changes before they go live. Use preview deployments to gather feedback on how changes.Access preview deployments
- Click Share in the editor tool bar.
- Click Preview to open the preview deployment in a new tab.
- The preview URL shows your documentation with all saved changes applied.
Share previews
Share the preview deployment URL with team members to gather feedback. Previews update automatically when you save additional changes.Preview authentication
Preview URLs are publicly accessible by default. Enable preview authentication in the Add-ons page of your dashboard to restrict access to authenticated organization members.Share editor links
Share a direct link to a specific page in the editor with your teammates. Use editor links to collaborate on updates and make changes to pages. When you open a page, the editor saves the path in the URL. Copy the URL from your browser’s address bar to share it with teammates who have access to the editor. The URL format is:https://dashboard.mintlify.com/acme/docs/editor/main?file=guides/quickstart.mdx opens quickstart.mdx on the main branch.
Anyone with access to your Mintlify organization can use the link to open the file directly in the editor.
Add comments
Use comments to provide feedback, ask questions, and collaborate on documentation content. Comments are attached to specific text selections and visible to all team members with access to the editor.Add a comment to text
- Select the text you want to comment on.
- Click the comment icon (speech bubble) in the floating toolbar that appears.
- Type your comment in the input field.
- Click Send comment or press Enter to post your comment.
View comments
View all comments for the current page in the comments sidebar on the right side of the editor.- Click the comment badge in the top toolbar to open the comments sidebar.
- Click a gutter icon next to commented text to open the sidebar and focus that comment thread.
- Click a comment thread in the sidebar to highlight the associated text in the editor.
Reply to comments
- Open the comments sidebar or click on commented text.
- Type your reply in the Reply… input field at the bottom of the thread.
- Click Send comment or press Enter to post your reply.
Resolve comments
Mark a comment thread as resolved when the discussion is complete or the feedback has been addressed.- Open the comment thread in the sidebar or by clicking commented text.
- Click the checkmark icon on the first comment in the thread.
Delete comments
Delete individual comments or entire comment threads.- Open the comment thread in the sidebar or by clicking commented text.
- Hover over the comment you want to delete.
- Click the trash icon that appears.